Tech Tip: Re-glueing Skins
(Last Updated On: )
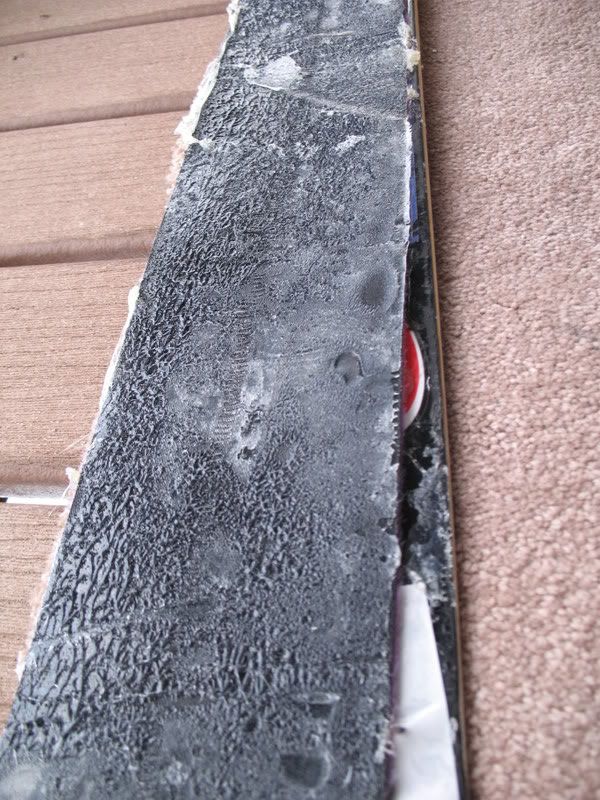
I’ve heard the nightmares, but it was time for me to finally jump into the PITA otherwise known as re-glueing skins. My fatter pair of skins have seen a lot of miles, so the skin glue had finally gotten too dirty and too old to stick to my skis. I bought a Black Diamond re-glue kit from my local shop, which unfortunately doesn’t even offer to do the labor. Most decent shops should offer this service, but sadly, Crested Butte doesn’t have a decent shop.
So, I gathered as much info as possible from the internet and friends who had done it before, and gave it a shot. I am happy with the results so far, but it did take me a fairly long time (about 3 hours), and it’s a job that is a little rough on the lungs as well as very messy.
The first thing to do is cut up a paper grocery bag and use that, along with an iron, to remove the old glue and get a clean surface. It also helps if you clamp your skins down on a 2×6 or old ski, and unless you like killing brain cells, make sure it’s a well-ventilated area.
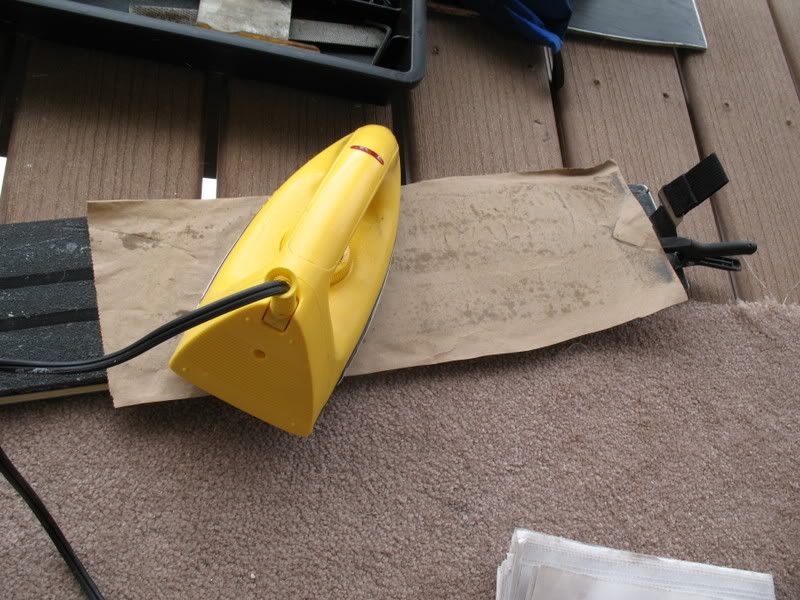
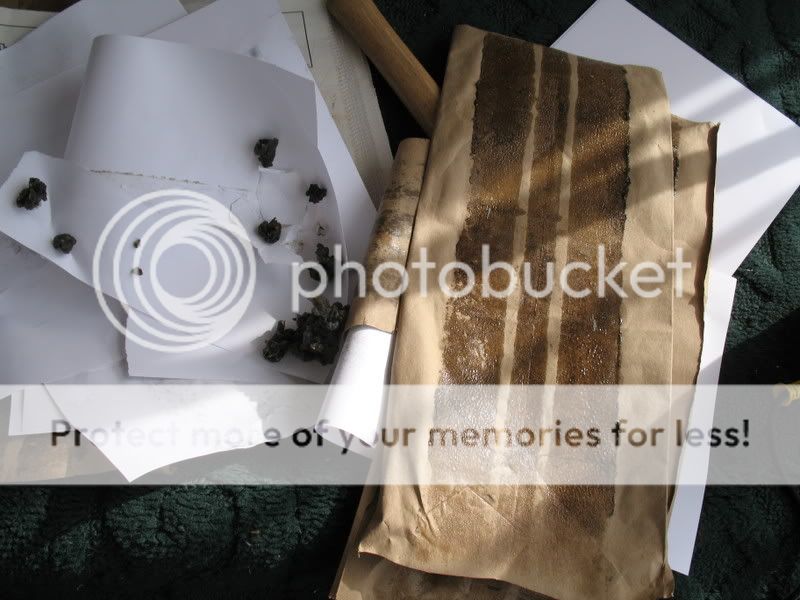
After you’ve heated a section, peel the paper and scrape the warm glue off of the skin. Being a drywaller, I used a drywall knife. Here’s a photo of the paper and the little round balls of skin glue that a got off of the drywall knife.
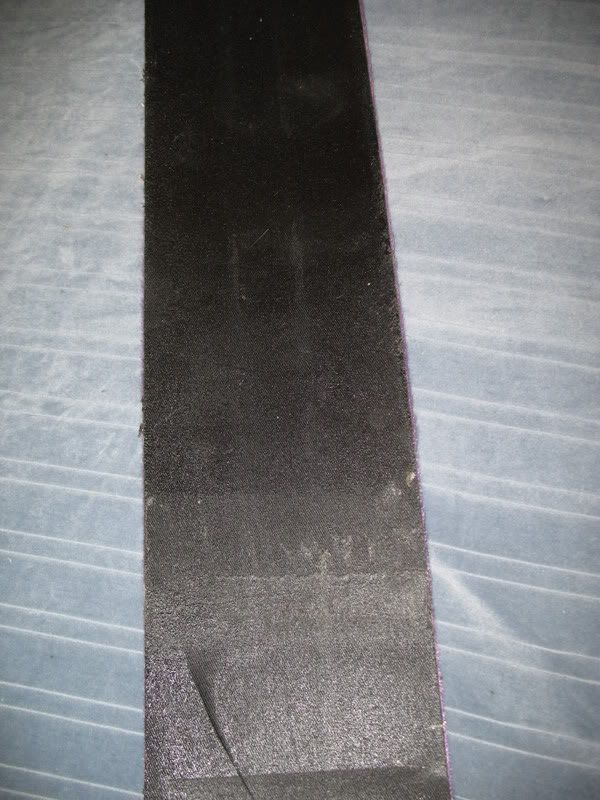
The skin should look nice and clean when you’re all done:
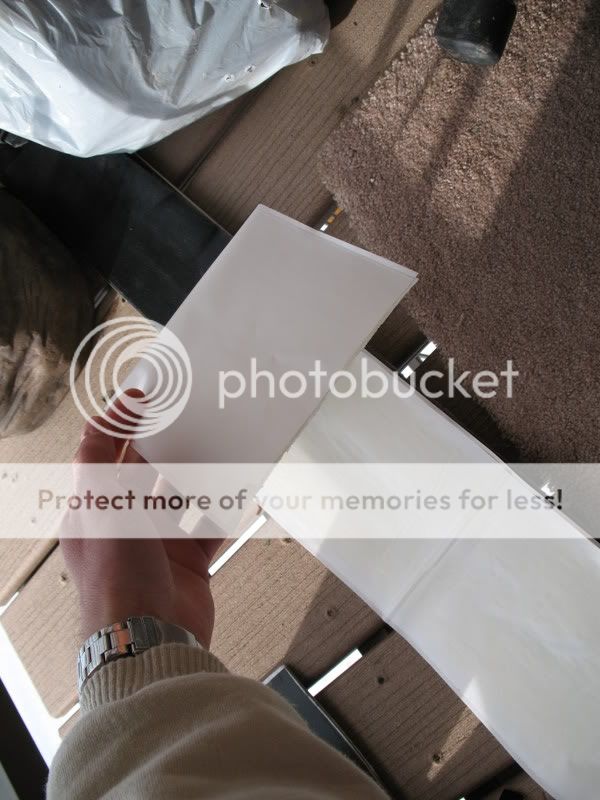
After that, I took the BD skin kit, which had glue sandwiched between wax paper, and laid it on the clean skin. Heat the wax paper once again with the iron, and then peel the paper off, leaving the new glue on the skin.
I’ve only had one chance to take them out, but so far I’m really happy with the results. I had one or two small dime-sized pieces of glue peel off the skin, but mostly, the skins appear to be as good as new. If anyone knows of some better tips and techniques, I’d love to hear them!
- Bluebird Backcountry Ski Area - February 14, 2020
- Gear Review: Smith 4D MAG Goggles - January 6, 2020
- Gear Review: LEKI Tour Stick Vario Carbon Ski Poles - December 9, 2019

